
How to Froth Milk for Homemade Coffee Drinks at Home?
Your passion for coffee isn’t just by chance. Before becoming your top choice for premium coffee, lattes, cappuccinos, or other espresso-based drinks undergo a meticulous selection process. But it’s not just the coffee that elevates your drink; milk plays an equally vital role. The quality of milk frothing is nearly as important as how the coffee beans are ground.
If you enjoy crafting your own coffee beverages and aim for exceptional flavor, you might wonder if it’s possible to froth milk at home. The answer is yes. A grasp of the science and chemistry behind milk frothing can help you brew the most delightful coffee drinks right in your own kitchen.
What is milk froth?
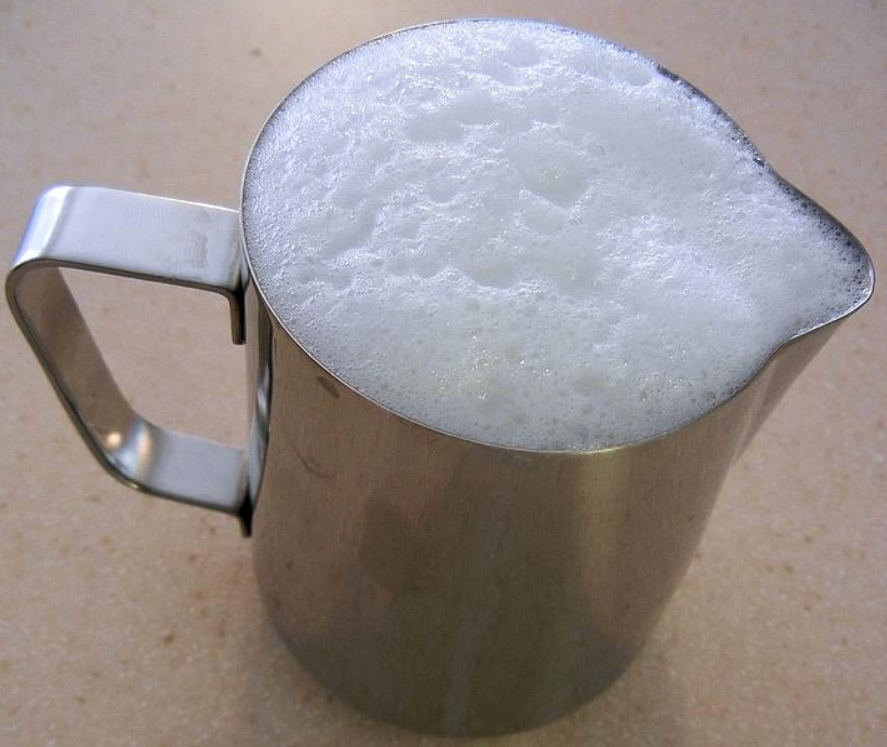
Frothy milk is essentially milk infused with air. This process of aeration results in bubbles or foam, contributing to a creamy texture. In most coffee shops, a frother is used to achieve this effect by vigorously spinning the milk with a spiral whisk. Additionally, the frother injects steam into the milk, producing bubbles and enhancing its creamy consistency.
Why Froth Milk?
Why is milk froth crucial for coffee beverages? Isn’t heated milk enough?
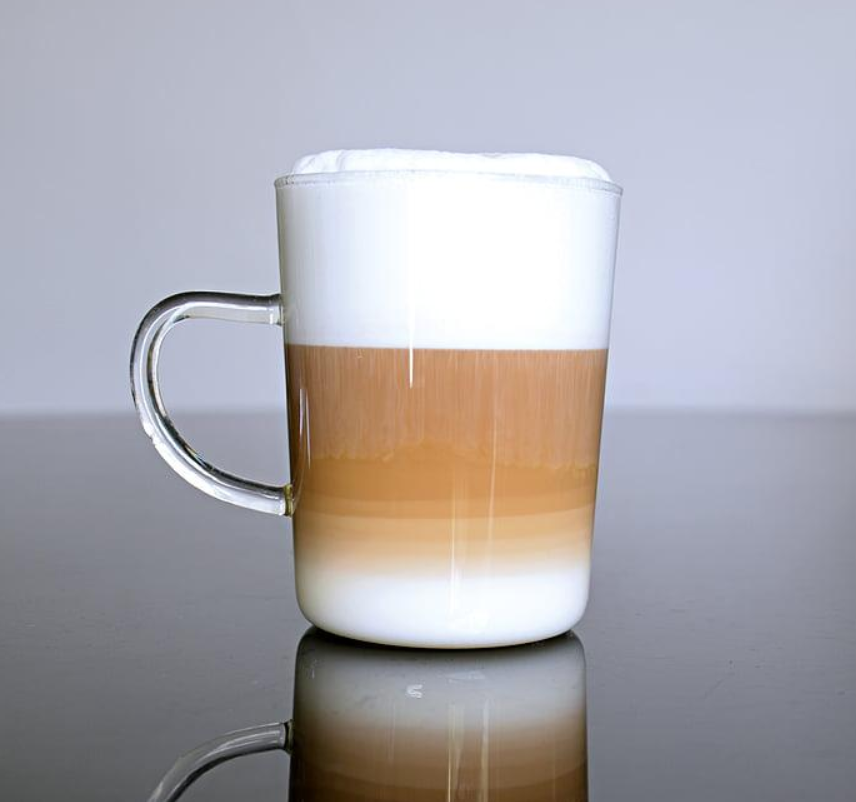
Well, frothed milk can add a perfect creamy layer to any drink. It provides a certain richness and texture that enhances your overall drinking experience. Frothed milk is ideal for those looking to elevate their coffee drinks or introduce different styles with each cup. It’s a key component that contributes to the creamy mouthfeel of your coffee. While you can always add regular heated milk, it undeniably lacks the same appeal.
Additionally, frothed milk not only enhances the flavor profile of your coffee but also allows for the creation of stunning lattes—yes, the ones with beautiful latte art that you often see on social media.

One of the perks of having coffee made with foamed milk is that it enhances the flavor experience as you sip. The bubbles alter the surface tension of the coffee, triggering chemical reactions that release more flavors. You’ll notice that enjoying coffee with foamed milk isn’t just a mental thing; it actually activates your taste buds. Additionally, many people think that foamed milk acts as an insulator, helping to keep your coffee warm for longer.
Most popular coffee drinks like cappuccinos and lattes rely on some amount of foamed milk. Without its frothiness, you wouldn’t get to savor that smooth, full-bodied richness. For more insights into coffee beverages, check out our guide on 21 different types of espresso-based drinks.
Milk Composition
Milk plays a crucial role in creating coffee beverages. By understanding its basic chemical composition, you’ll enhance your ability to craft high-quality coffee drinks at home. Milk is packed with nutrients such as water and various compounds like proteins, fats, carbohydrates, sugars, and minerals.
The proteins in milk are most affected by heat during foaming processes; they determine whether foaming succeeds or fails. When air is introduced into liquid—via steam or otherwise—these proteins form spheres around air pockets which stabilize into bubbles at around 60°C (140°F), producing stable foam with excellent texture and thickness; higher temperatures yield smaller bubbles.
Fat content also helps stabilize these bubbles by preventing them from merging into larger ones—hence why there’s often a thin film atop foamed drinks—but overheating can scorch the liquid imparting an unpleasant sulfuric taste while breaking down foam structure due to denatured proteins which fail covering bubble surfaces effectively anymore; thus re-foaming heated-over-milk proves futile since reheating degrades remaining stabilizing proteins further.
Choosing The Best Milk For Frothing
When selecting optimal milks for foamy coffees focus primarily upon their protein levels since insufficient amounts hinder proper foams forming altogether:
Whole Milk: Higher caloric count yet yields thick creamy foams enriching beverages richly perfecting latte artistry ideally through stable structures provided therein;
Skimmed Milk: Lighter lower-fat alternative retaining essential nutrients yet generating larger bubblier foams albeit less creamy than whole counterparts;
Soymilk: Popular non-dairy option easily frothed though producing fewer foams reacting adversely against acidic coffees curdling inconsistently deflating results ultimately;
Oatmilk: Superior non-dairy choice offering higher-protein contents facilitating better thicker consistent results under continued heating conditions;
Almond Milk: Another viable flavorful option though some find flavors overpowering within coffees themselves;
Optimal Heating Temperatures
Effective froths depend upon precise heating ideally between 60–63°C (140–145°F); lower temperatures yield unstable large-bubbled results whereas exceeding 70°C (158°F) denatures critical proteins boiling liquids eliminating microfoam potentials entirely thereafter monitored via specialized or standard kitchen thermometers ensuring removal prior reaching critical points given residual heat effects post-removal persisting briefly;
Steaming vs Frothing
Distinguishing steaming from frothing remains crucial amongst enthusiasts despite regular drinkers overlooking differences: distinct processes yielding varying textures wherein steamed versions appear less dense comparatively against richer thicker frothed counterparts ultimately.

When using an espresso machine, steaming milk involves heating it with a steam wand. The tip of the steam wand is placed just below the surface of the milk, causing it to spin in the pitcher. It’s important to heat the milk evenly.
Frothing milk takes it a step further than just steaming. The process not only heats the milk using a steam wand but also injects air into it, creating tiny bubbles that form a luscious foam atop your coffee drinks. With an espresso machine, you place the tip of the steam wand at the surface of the milk. As the milk expands, you need to lower the steam wand to incorporate more air and produce larger, firmer bubbles. A typical cappuccino consists of both steamed and frothed milk.
How to Froth Milk at Home
To consistently enjoy the creamy flavor of coffee, you can also froth milk at home. Explore various methods for frothing milk at home and choose the one that suits you best.
The essentials for frothing milk at home include milk and a clean cup.
Heating Your Milk
No matter which method you choose, the first step in frothing milk is to heat it to 60-63 degrees Celsius. If the milk isn’t heated enough, it won’t taste as sweet as it should. However, if it’s overheated, it won’t foam properly.
Frothing Your Milk
Enhance your frothed milk by swirling it and tapping the container on a surface to remove large bubbles; this will improve its texture and quality.
Different Ways to Froth Milk at Home
Shaking in a Jar
Pour heated milk into a sealed jar and shake it thoroughly. This method creates foam with large air bubbles. If your milk is very hot, use a cloth or heat-resistant gloves to hold the jar to avoid burning your hands.
Hand Stirring
Pour hot milk into a bowl and use a manual whisk to stir vigorously by hand. You can stir back and forth or in circular motions. The frothed milk from this method usually has better quality compared to shaking.
Using an Electric Mixer
After heating the milk, use an electric mixer to stir until you achieve your desired level of frothiness. This method produces higher quality foam than manual stirring.
Using an Espresso Machine
For those who own an espresso machine, this method makes it easy to create perfect froth. Immerse your steam wand into hot milk and turn it on. The wand will continuously rotate and aerate the milk, creating beautiful foam as per your needs. It produces very fine foam.
Using a Blender
After heating, pour the milk into a blender and blend at medium speed until you get your desired foam consistency. Ensure that you secure the blender lid tightly during blending to prevent hot milk from splashing out and causing injury. The resulting bubbles are uniform and high-quality.
Pump Frother
A pump frother is manually operated. After heating, let the milk cool for about one minute before pouring it into the frother. Use vigorous and quick pumping motions with the plunger handle for about 30 seconds while holding down the lid.
The faster and more forcefully you pump, the more aerated and foamy your milk becomes. A pump frother produces lovely creamy foam.
Be careful not to overfill as pumping causes expansion of the milk. Use a heat pad when holding down the lid to avoid burns.
Reheating Foamed Milk
Reheating foamed milk is a bad idea. Why?
Milk is a whole food containing nearly all essential nutrients. This makes it prone to bacterial and pathogen growth. If left out on the counter, bacteria multiply rapidly in milk. Reheating won’t kill these bacteria or other pathogens present. Additionally, reheating causes proteins in the milk to break down, making it watery and altering its taste. It’s best to froth only the amount of milk you need at any given time.
Why Won’t Your Milk Foam?
Even experts encounter this issue: sometimes even with the best quality milk and following identical steps as before, it just won’t foam. There’s no need for self-blame here. More puzzlingly, some milk forms foam only for it to vanish within seconds. This can be attributed to enzymes or bacteria breaking down components in the milk during lipolysis into free fatty acids, monoglycerides, and diglycerides—excessive amounts of which cause foam collapse.
Moreover, it’s not your fault either. Fat breakdown could result from factors like cow diet, lactation cycles, adverse weather conditions, milking techniques, or improper home storage. When your milk refuses to foam, there’s little you can do except hope for better luck next time. Remember though: fresh milk foams more easily than refrigerated one; if needed, keep your milk stored at 4°C (39°F).
Best Practices for Frothing Milk
Tips to Become a Milk Frothing Expert
Cold Milk
Using cold milk not only helps it absorb air better but also gives you more time to work on your frothing technique.
Don’t Overfill Your Bowl
Remember that milk expands when frothed. Pour just enough milk so that it matches where it begins to froth. This amount should be sufficient for a large latte.
Steam Temperature
When using an espresso machine, make sure it reaches the proper steam temperature. Some machines may shut off and stop producing steam while you’re still frothing. The key is to figure out how long your machine takes to reach steam temperature. Start steaming just a few seconds before the machine indicates it’s fully heated.
Clean the Steam Wand Thoroughly
Before starting, wipe down the steam wand with a towel to remove any water in the steam circuit—you don’t want extra water in your milk. After frothing, clean the wand again to remove any remaining milk residue.
Frothing milk is simple and something you can improve with practice. Learning to do it yourself at home is a big win for coffee enthusiasts. Try these methods and let us know how they work for you.